Managers Absence Approval Workflow
1 min read
Introduction #
Welcome to the Allday Time Systems Manager Workflow Guide
This document will cover:
- Navigating to Manager Workflow
- Overview of Manager Workflow
- Checking an employee’s absence
- Filtering workflow notifications
Filtering workflow notifications #
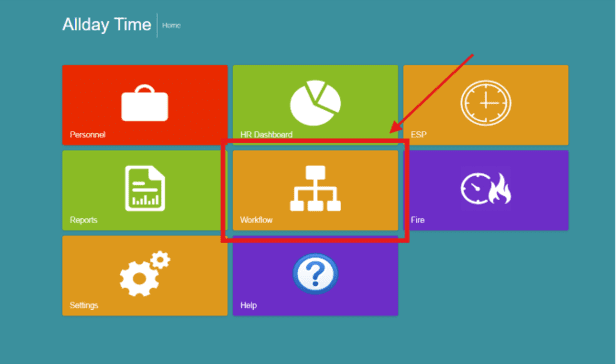
From the Freetime dashboard, click the ‘Workflow’ tab to access the Workflow Home.
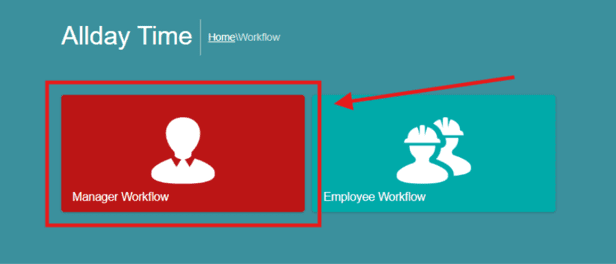
From the ’Workflow’ tab, click on ’Manager Workflow.’
Overview of Manager Workflow #
The managers’ workflow page displays all absence requests from all employees inside a table. The table displays details of the absence requests such as the following:
- Employee
- Notice Types
- Details
- Notes
- Current Status
- Action

The absence requests table allows you to
- Approve
- Reject
- Cancel abs
- Check allowance
employee’s absence requests.

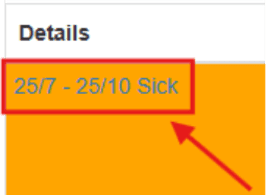
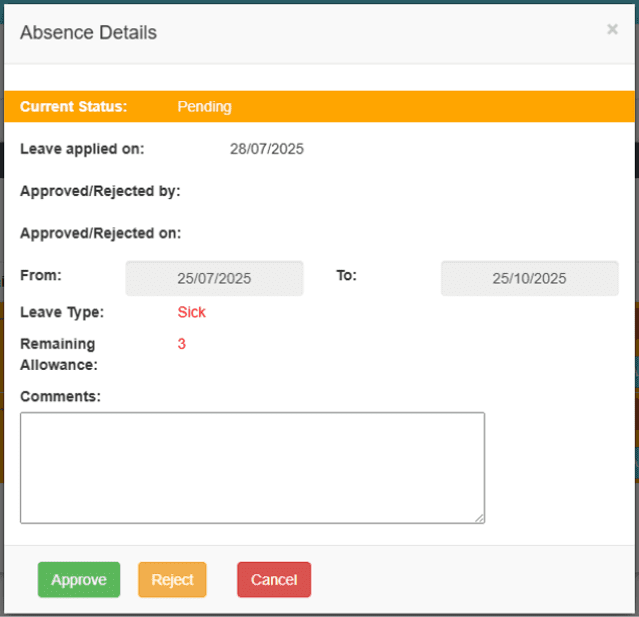
You can additionally check details of your employee’s absence requests by clicking the date text under the detail’s column. A pop will then display details of the absence.
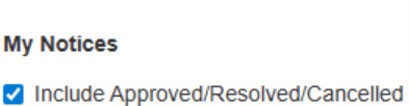
Once an absence request is approved/rejected, you can click on ’Include Approved/Resolved/Cancelled’ to display all your resolved absence requests alongside all requests still pending.
Reviewing an employee’s absence #
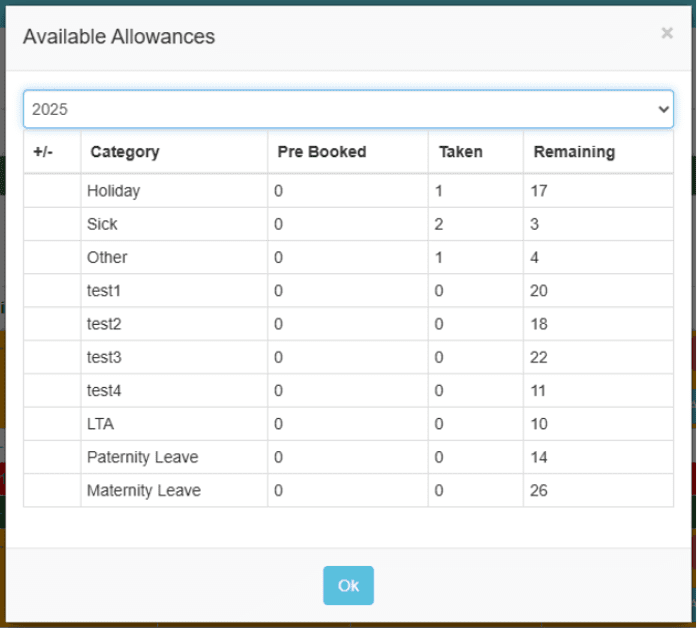
To check an employee’s absence, click on ‘Check Allowance.’ This pop-up allows you to view all an employee’s absence allowances along with their
Pre-booked, taken, and remaining absences. This pop-up also enables you to choose from different years to view an employee’s absence.
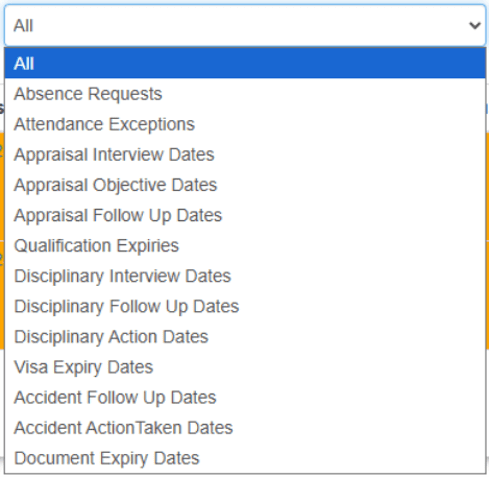
Filtering #
The Manager’s Workflow allows you to filter all workflow notifications
under the ‘All’ dropdown.