Handling Missed Clockings
2 min read
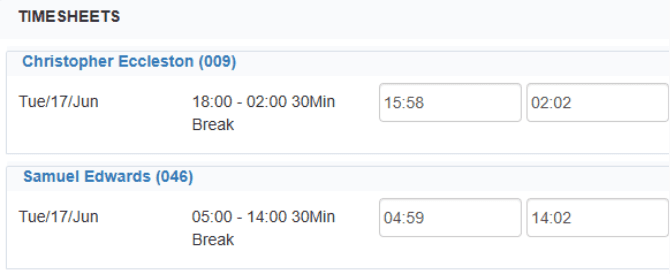
Raw clocking times can be seen and edited in several places in the system, such as on the employee timesheets found in the Timesheets tab of each employee. Or in the edit times screen, which can be found by selecting the Spreadsheet view button from within the employee timesheets area or by navigating to Personnel / Edit times or within Freetime People by navigating to Attendance / Edit Times
Adding/editing clocking’s from Timesheets
Creating a timesheet
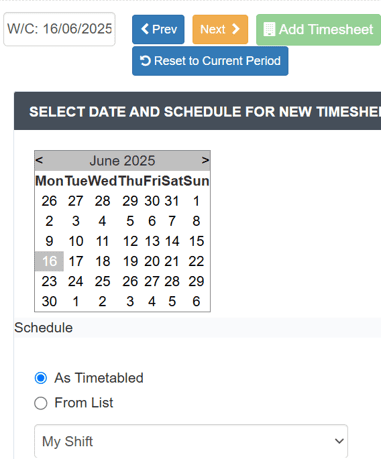
To add a new timesheet, while in the click on the ‘Add Timesheet’ button and select the date.
Note*: Make sure the shift is left as timetabled.
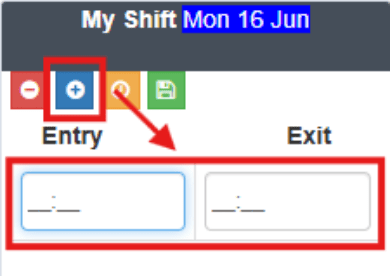
Adding and editing a timesheet #
Once a blank timesheet is generated, select the light blue ‘+’ icon to generate an empty clocking box. Then click in the box and add your
clocking.
Note*: The system operates on a 24-hour clock.
To make changes to a clocking, click the red ‘–’ icon to delete the timesheet, then create a new one.
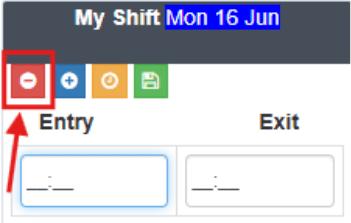
Note*: The system operates on a 24-hour clock.
[Question for later: should we explain how to edit if employee has break?]
Using Edit Times to adjust #
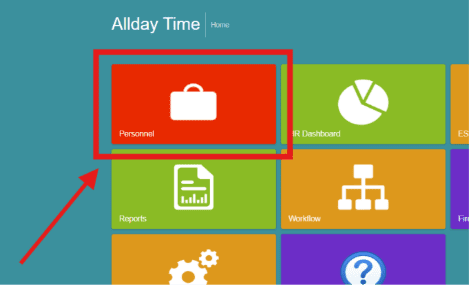
To navigate to edit times, on the Freetime home dashboard, select the ‘Personnel’ tab.
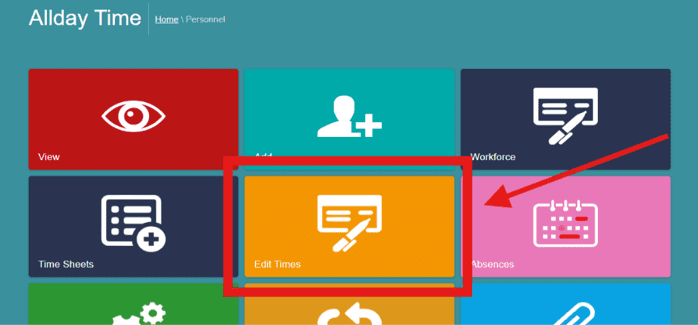
Next, select the ‘Edit Times’ tab and select the employee you want to edit.
In the edit times tab, you can:
- Add days to your timesheet.
- Switch/select different employees
- Edit clocking on employees’ timesheets
- Search between dates to find older timesheets
To add days onto your timesheet, click on the ‘+ Day’ button.

Select the date and the employee to add onto the timesheet, then select the type of shift using the dropdown.

Once completed, click on the ’search’ button to update the timesheet.
Note*: Make sure the dates match the employee’s shift.

Applying Filters to find correct record
To filter different employees’ timesheets, click on the ‘Select employees’ button.
Next, select the employees you want to view by ticking the box next to their names and click ‘ok’ to view their timesheets.