Absence Allowances or Entitlements Setup
2 min read
Introduction
Welcome to Allday Time Systems. Absence Categories Guide
To accurately track and manage employee absence, it is necessary to have all the possible absence reasons available in the system before you book employees to an absence. Some absence categories will have an allowance, such as Holiday or Sick; others will not and you can define these variations yourself then add these allowances to employees, allowing you to book absences and track them
If you are creating the new employee, then allowances can be created from this add employee screen.

To edit the existing allowances, you can navigate to the employee and then select the Absences tab.
In this screen, there is an allowances section that shows all the existing allowances for this employee.
Also, it shows default, actual, and remaining values.
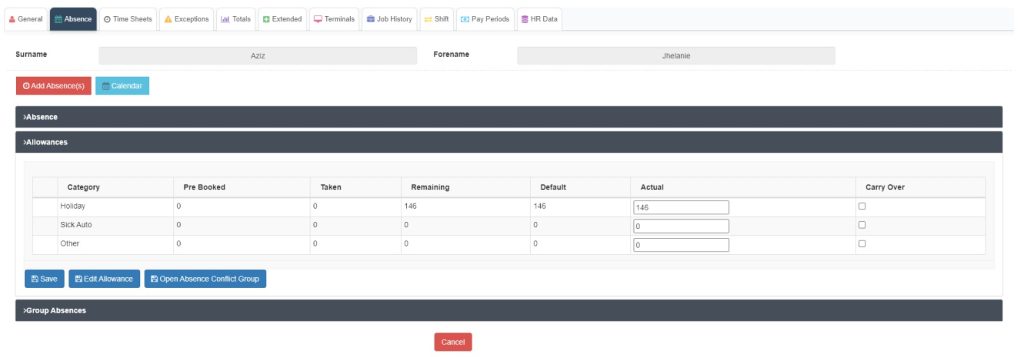
To edit the allowances, click on the edit allowance button that will open the above popup. So admin can select or deselect the allowances as per their requirement.
Navigating to absence categories #
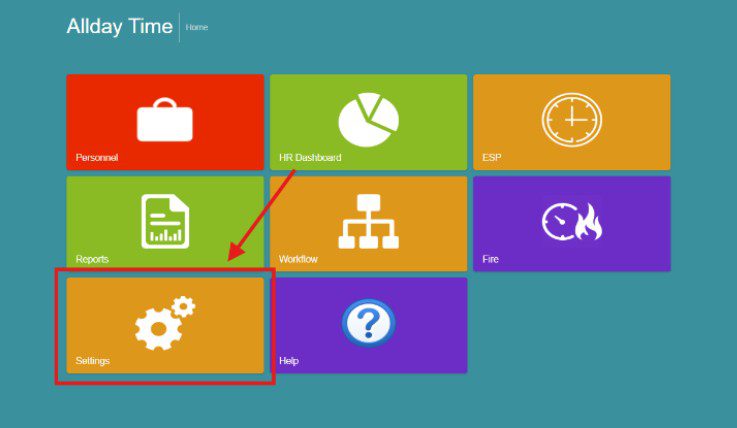
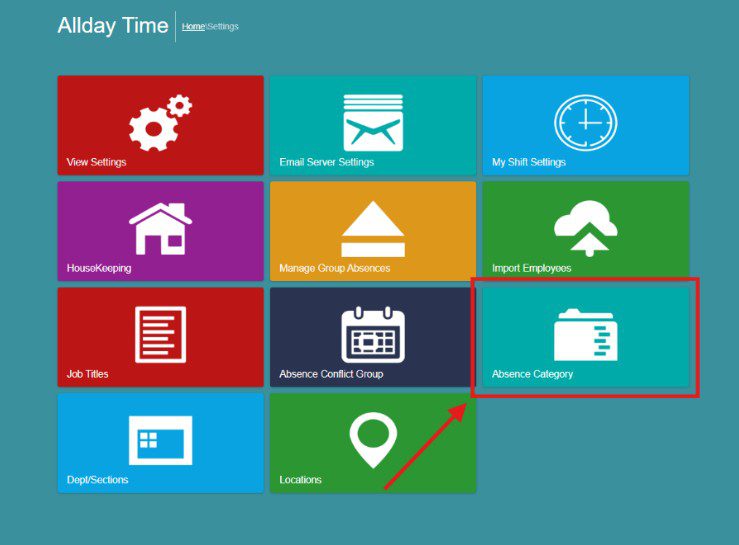
If using Freetime People: From the HR home page, click on “Settings” and then “Absence Category.”
Or if using Freetime Pro: From the Freetime dashboard, click the ‘Settings’ tab.
Next click on ‘Absence Category.’
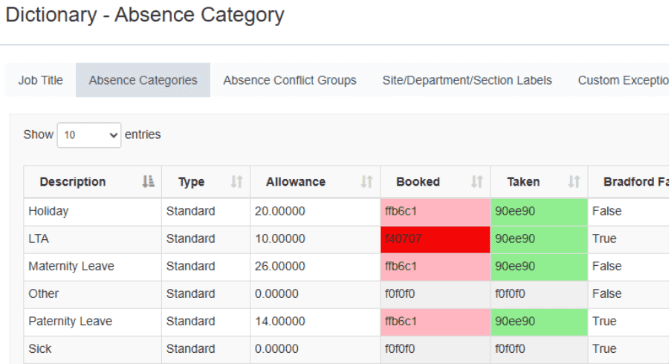
Overview of Absence Categories
The Absence Categories page displays all the absence categories employees can use in a table format. The table displays details of each absence, such as:
- Description
- Type
- Allowance
- Booked
- Taken
Adding and Editing Absence Categories #
On this page, you can edit the allowances created by clicking the ‘Edit’ button under the ‘Action’ column.
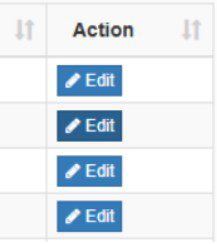
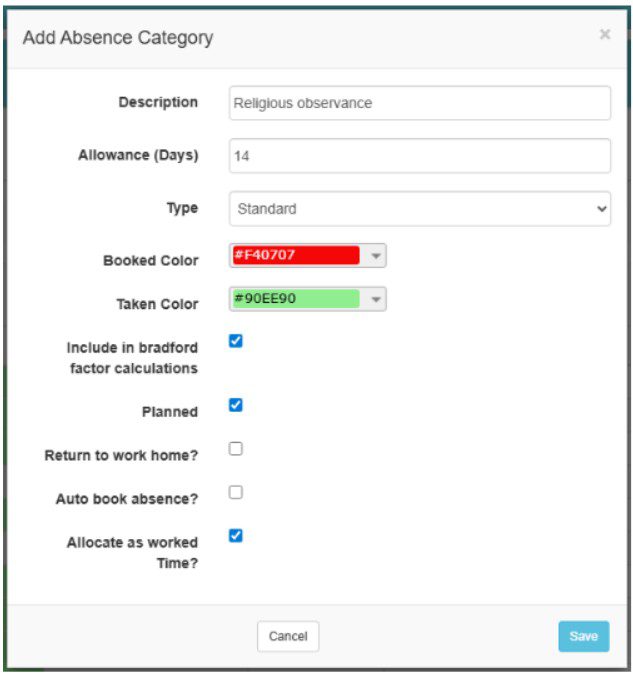
When selected, you can edit the pop-up options shown below.
Then click ’Update’ to apply your new settings when finished. Once completed, your absence category will appear with your new edited details inside the Absence Category table.
To add new absence categories, select the ’Add New’ button. Then fill in the required information. Once completed, click ’Save’ to add the new absence.
When created, your new absence category will appear inside the Absence Category table.
Applying Absence Categories to employees #
You can view all the absence categories as shown below.
Employee profile > Absence Tab > Allowances dropdown
Within the allowances dropdown table, you can view an employee’s absences taken and remaining absences.
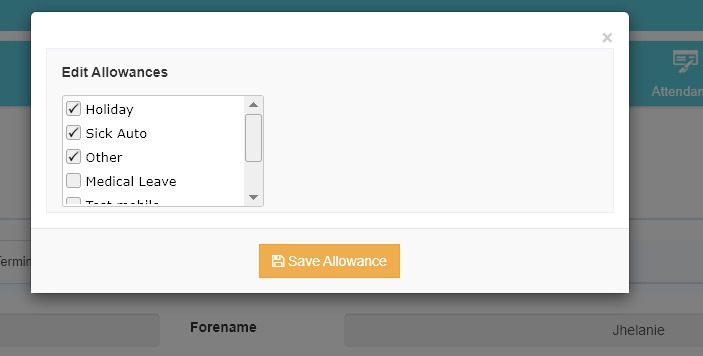
To activate or disable an absence category, select ’Edit Allowances.’
From all the absences that are displayed on the pop-up, select the absence categories to apply to your individual employee by toggling the tick arrow and select the absences to disable by also toggling the box to plain white.
Once completed, click ’Save Allowances’ to update the allowances dropdown table.
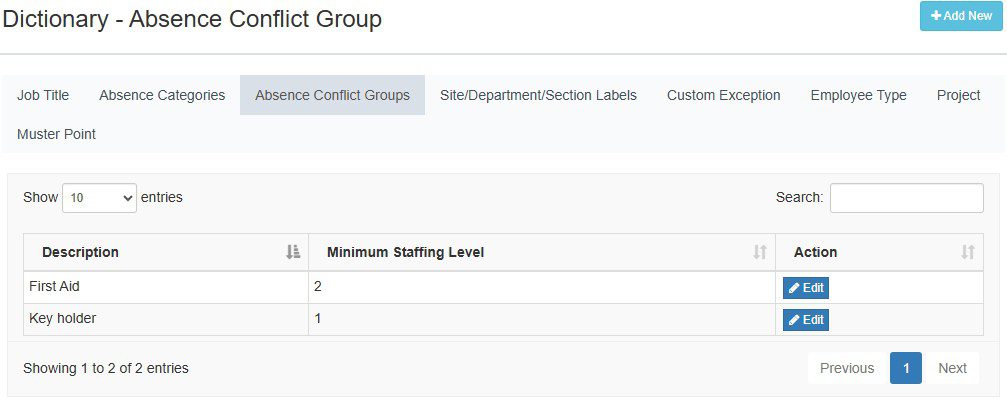
Setting Absence Conflict Groups #
Conflict groups allow you to avoid booking off key employees all at the same time. For instance, you may need to make sure you have a first-aid-qualified person on site at all times or maintain a certain number of staff with key skills or always have a member of each team available or even make sure there is always someone to open the door in the morning and lock up at night.
You can create as many conflict groups as you need and set a minimum staffing level, then apply each employee affected to the group, and when you attempt to book an absence, the system will remind you of the conflict if there is likely to be an issue using the rules you have set.
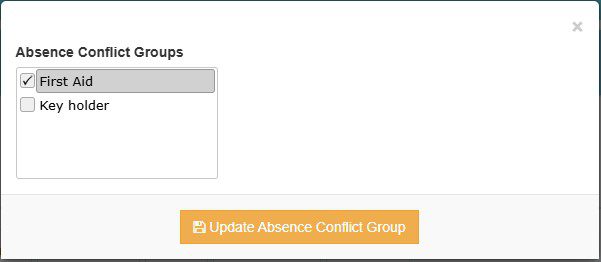
To create or edit the conflict groups, go to Settings and Abs Conflict, then select Add New to create a new group and give it a name and type the minimum staffing, such as 1 or 5 and so on, and select Save.
After creating your groups, go to the affected employees’ absence tab, and within the allowances section, you can select “Open absence conflict group” and select those that apply and save. If you have just created the group and you cannot see it in the employee area, you may need to log out and back in again to refresh the list of available groups.